
How to turn your drawing into a custom plush toy
A flat drawing has to become a 3D sewing pattern. Here's what happens between your artwork and a finished plush — and what to send us.
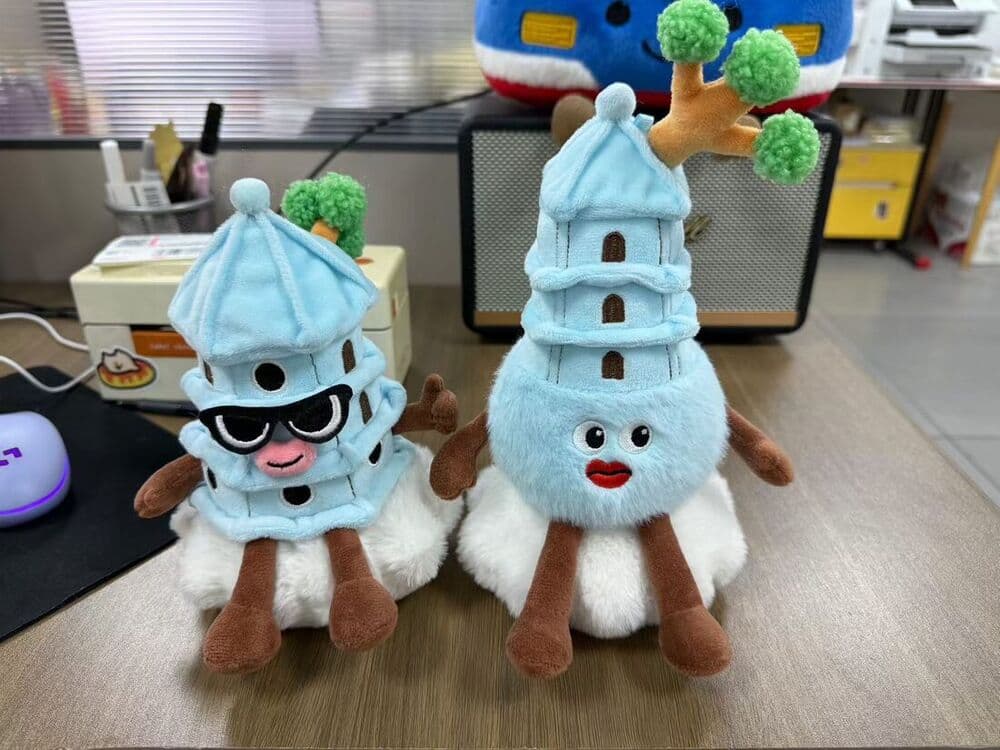
Almost every custom plush starts as something flat — a sketch, a character sheet, a screenshot, sometimes a photo of a doodle. Turning that into something soft and three-dimensional is a real craft, and knowing what happens at each stage makes you a much better client.
Step 1 — What to send
You don't need technical files. A clear drawing is enough. What genuinely helps:
- Front view, and a back or side view if the design isn't symmetrical
- The colours you want, ideally with Pantone references if colour accuracy matters
- Rough target size in centimetres
- Any must-keep details — a logo placement, a specific expression
- A reference photo of a plush whose style or texture you like
Step 2 — Pattern-making
This is where the real translation happens. A pattern-maker breaks your character into flat panels that, once sewn and stuffed, curve into the shape you drew. A head that reads as a simple circle on paper might need four to six panels to come out round rather than pillow-flat.
It's also where honest compromises get made. Very thin limbs, sharp spikes and tiny facial features don't survive stuffing well. A good factory will tell you which parts need adapting and propose an alternative that keeps the character recognisable — for example, embroidering a fine detail rather than trying to sew it in fabric.
Step 3 — Material selection
Fabric is chosen alongside the pattern, because it changes how the shape behaves. Short-pile plush holds crisp edges and is the usual choice for characters with defined features. Long pile and faux fur read as fluffy and forgiving but soften detail. Minky is very soft and popular for baby-oriented products.
Details are then either embroidered — durable, textured, best for faces and logos — or printed, which handles gradients and fine artwork that embroidery cannot.
Step 4 — Sampling
We produce a physical sample, usually within 7–10 days of the design being confirmed, and photograph it from several angles for your review. This is the moment to be picky. Muzzle too long, eyes too high, body too wide, colour slightly off — all of it is cheap to change now and expensive to change later.
Revisions are normal. Most projects settle in one or two rounds; complex characters occasionally take three.
Step 5 — Bulk production
Once you approve the sample, it becomes the reference standard for the whole run. Production moves through cutting, sewing, embroidery, stuffing, closing and finishing, with quality checks at each stage rather than only at the end. Bulk typically takes 25–35 days.
Final inspection covers stitching strength, filling weight and consistency, embroidery placement, and confirmation that no small part can be pulled loose — the last one matters for toy safety compliance as well as durability.
Who owns the design?
You do. Your artwork remains yours, we don't resell or reuse customer designs, and we're happy to sign an NDA before you share anything. If you're commissioning a character you intend to build a brand around, get that in writing with any factory you approach — not just with us.